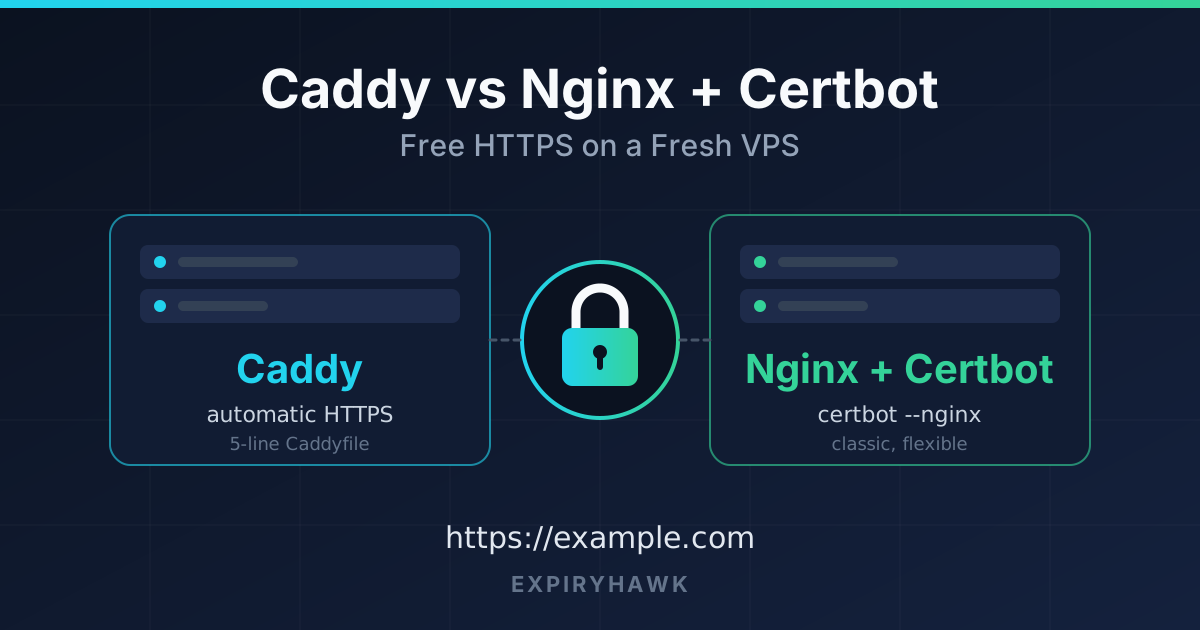
Caddy obtains and renews HTTPS certificates on its own; Nginx needs Certbot to do the same. Both can give you a free Let’s Encrypt certificate on a fresh Ubuntu VPS in about ten minutes. Caddy has fewer moving parts. Nginx + Certbot is more common and gives you finer control. Whichever you choose, verify the certificate your server actually presents, and monitor it, because automatic renewal can still fail silently.
This guide uses example.com as a placeholder. Replace it with your own domain.
Before You Start#
You need four things in place, regardless of which server you pick:
- An Ubuntu VPS (22.04 or 24.04 LTS) and a user with
sudoaccess. - A domain whose
Arecord (andAAAArecord, if you use IPv6) points to the VPS. Certificate issuance fails if DNS does not point at the server yet. - Ports 80 and 443 open in your firewall and your provider’s network rules. Let’s Encrypt’s usual HTTP validation needs port 80 even if you only serve HTTPS.
- Only one web server listening on ports 80 and 443. If Nginx or Apache is already running, stop it before starting Caddy.
If you use UFW, allow web traffic with sudo ufw allow 80,443/tcp.
Which Should You Choose?#
| Question | Caddy | Nginx + Certbot |
|---|---|---|
| Certificate setup | Automatic once the site is defined | One Certbot command |
| Renewal | Built in | Scheduled by Certbot; verify it |
| Config size for a basic site | A few lines | A server block plus Certbot’s edits |
| Extra tools to install | None | Certbot |
| Best for | New projects, simple sites, reverse proxies | Existing Nginx setups, fine-grained control |
1. Option A: Caddy With Automatic HTTPS#
Install Caddy from its official repository:
sudo apt install -y debian-keyring debian-archive-keyring apt-transport-https curl
curl -1sLf 'https://dl.cloudsmith.io/public/caddy/stable/gpg.key' | sudo gpg --dearmor -o /usr/share/keyrings/caddy-stable-archive-keyring.gpg
curl -1sLf 'https://dl.cloudsmith.io/public/caddy/stable/debian.deb.txt' | sudo tee /etc/apt/sources.list.d/caddy-stable.list
sudo chmod o+r /usr/share/keyrings/caddy-stable-archive-keyring.gpg /etc/apt/sources.list.d/caddy-stable.list
sudo apt update
sudo apt install caddy
Create a simple site folder and page:
sudo mkdir -p /var/www/example.com
echo '<h1>Hello from Caddy</h1>' | sudo tee /var/www/example.com/index.html
Edit /etc/caddy/Caddyfile and replace its contents with:
example.com, www.example.com {
    root * /var/www/example.com
    file_server
}
To proxy an app instead of serving files, replace the root and file_server lines with reverse_proxy localhost:3000.
Reload Caddy and watch the logs:
sudo systemctl reload caddy
sudo journalctl -u caddy --no-pager -n 30
When a site is defined by a real domain name, Caddy requests a certificate and redirects HTTP to HTTPS without extra configuration. Visit https://example.com. If the log shows errors, the cause is almost always DNS or a blocked port (see the troubleshooting section below).
2. Option B: Nginx With Certbot#
Install Nginx and create a basic site:
sudo apt update
sudo apt install -y nginx
sudo mkdir -p /var/www/example.com
echo '<h1>Hello from Nginx</h1>' | sudo tee /var/www/example.com/index.html
Create /etc/nginx/sites-available/example.com:
server {
    listen 80;
    listen [::]:80;
    server_name example.com www.example.com;

    root /var/www/example.com;
    index index.html;

    location / {
        try_files $uri $uri/ =404;
    }
}
Enable it, test the configuration, and reload:
sudo ln -s /etc/nginx/sites-available/example.com /etc/nginx/sites-enabled/
sudo nginx -t
sudo systemctl reload nginx
Confirm http://example.com loads before requesting a certificate. Then install Certbot. The Certbot project recommends its snap package:
sudo snap install --classic certbot
sudo ln -s /snap/bin/certbot /usr/bin/certbot
If an older certbot was installed through apt, remove it first with sudo apt remove certbot to avoid conflicts. Always check Certbot’s official instructions for your OS and web server, as install steps change over time.
Request the certificate and let Certbot edit your Nginx configuration:
sudo certbot --nginx -d example.com -d www.example.comCertbot asks for an email address and terms acceptance, then installs the certificate and sets up HTTPS. Reload the site in your browser to confirm.
3. Confirm Renewal Will Actually Work#
This step is where Nginx + Certbot setups most often go wrong, so do not skip it.
sudo certbot renew --dry-run
systemctl list-timers | grep certbot
The dry run simulates renewal against Let’s Encrypt’s staging environment. The timer check confirms a scheduled renewal job exists. Certbot renews certificates when they are close to expiry, so a successful dry run today is your best proof that renewal will work later.
Caddy handles renewal internally, so there is no separate job to check. Make sure its data directory persists (the default on a standard install does) and that the service stays enabled: systemctl is-enabled caddy.
4. Verify the Certificate the Server Presents#
Do not assume the certificate on disk is the one visitors receive. Check the live endpoint:
echo | openssl s_client -connect example.com:443 -servername example.com 2>/dev/null | openssl x509 -noout -subject -issuer -datesConfirm the domain, the issuer, and the notAfter date. You can also use the ExpiryHawk SSL Checker for a quick check from outside your network. For more methods, see How to Check Your SSL Certificate Expiry Date.
5. Troubleshooting the Common Failures#
- DNS does not point to the server. Validation fails because Let’s Encrypt reaches the wrong machine. Check your
AandAAAArecords, and remove stale IPv6 records if the server does not serve IPv6. - Port 80 or 443 is blocked. Check UFW and your provider’s firewall or security group.
- Two servers fight over the ports. Run
sudo ss -tlnp | grep -E ':80|:443'to see what is listening. - Repeated failed attempts trigger rate limits. Let’s Encrypt limits repeated failures. When testing, use staging (
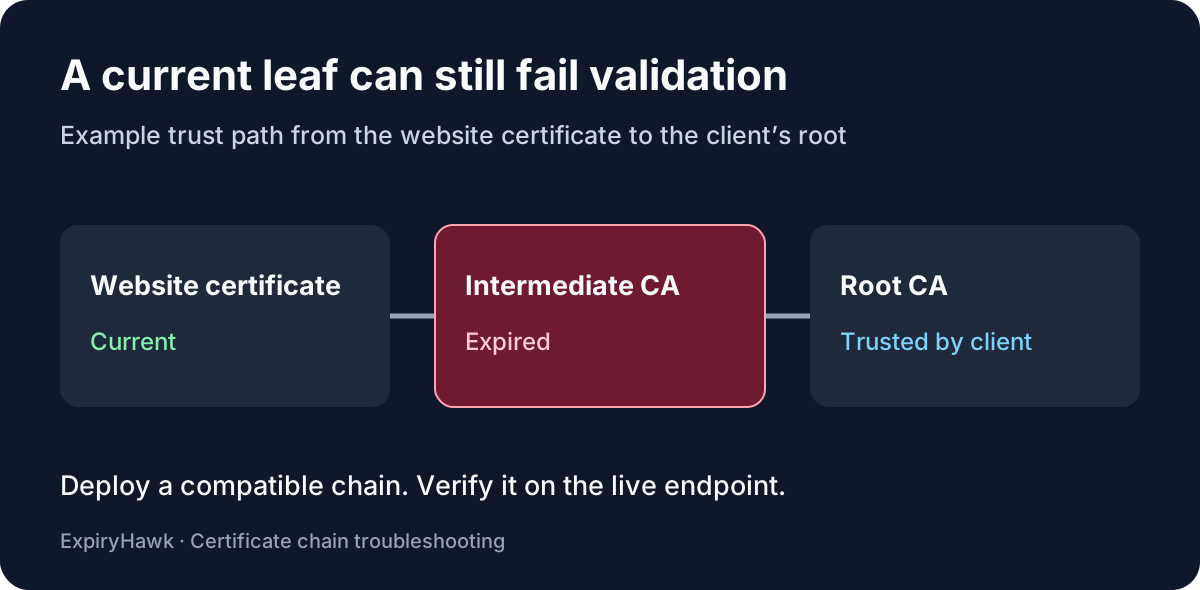
--stagingwith Certbot) instead of retrying against production. - A CDN or proxy sits in front of the server. The public certificate may come from the CDN, not your origin. Check what visitors actually see.
6. Add a Safety Net#
Automatic renewal removes manual work but not risk. A changed firewall rule, a stopped timer, a failed reload, or a DNS change can quietly break renewal weeks later. Do not count on the certificate authority to warn you either: Let’s Encrypt has discontinued its expiry reminder emails, so you need your own alerts.
Add your domain to ExpiryHawk so certificate expiry is checked from the outside, and alerts reach you before visitors see a browser warning. Also remember that your domain registration has its own deadline, separate from the certificate. See Domain Expiry vs SSL Expiry: What’s the Difference? for how the two differ.